How to use Git as a beginner — step by step, and why it's a time machine for code
Git looks like a scary cult with its own incantations, and beginners put it off "for later." Here's the honest meaning that turns it into your best friend: Git isn't the cloud and it isn't GitHub. It's a time machine for code. Every commit is a save point in a game you can return to. And why does a vibe coder need it especially? Because an AI agent rewrites half your project in five minutes — and if it broke what was working, Git rolls everything back with one command. Without it, you're just praying the agent doesn't mess up.
Let's break it down step by step, on the bare minimum of commands. There really are five.
Step 1. Create a repository in your project
A repository (repo) is the project folder Git watches. Open a terminal in the project folder and run once:
git init
That's it. Git is now watching the files. If you use an AI editor, the repo is probably already created and you can skip this step.
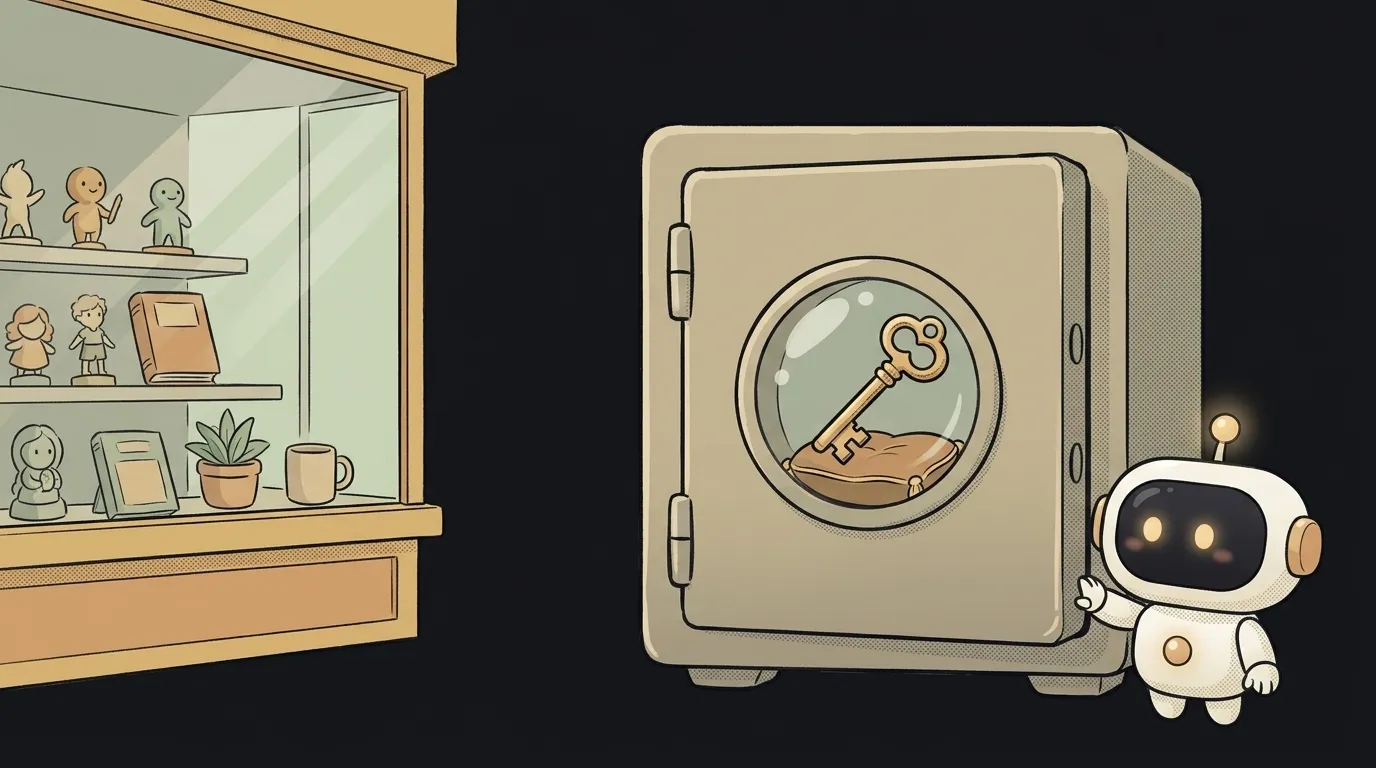
Step 2. Lock down your secrets before the first commit
A critical step that prevents future grief. Create a .gitignore file in the root and put in it what should not end up in history:
.env
node_modules/
.env holds your secret keys; if they leak into the repo, consider them public. node_modules/ is a heavy dependencies folder with no reason to be stored. Do this before the first commit — scrubbing secrets out of history afterward is far more painful.
Step 3. Make your first commit — your first save
A commit is two moves: first you choose what to save, then you save it with a label.
git add .
git commit -m "First working version"
git add .— stages all changes "for saving."git commit -m "..."— records them in history with a short label of what you did.
Write the label in plain language, to the point: "added the login form," "fixed the broken layout on mobile." It's a note to your future self — a week later it'll explain what was in this save.
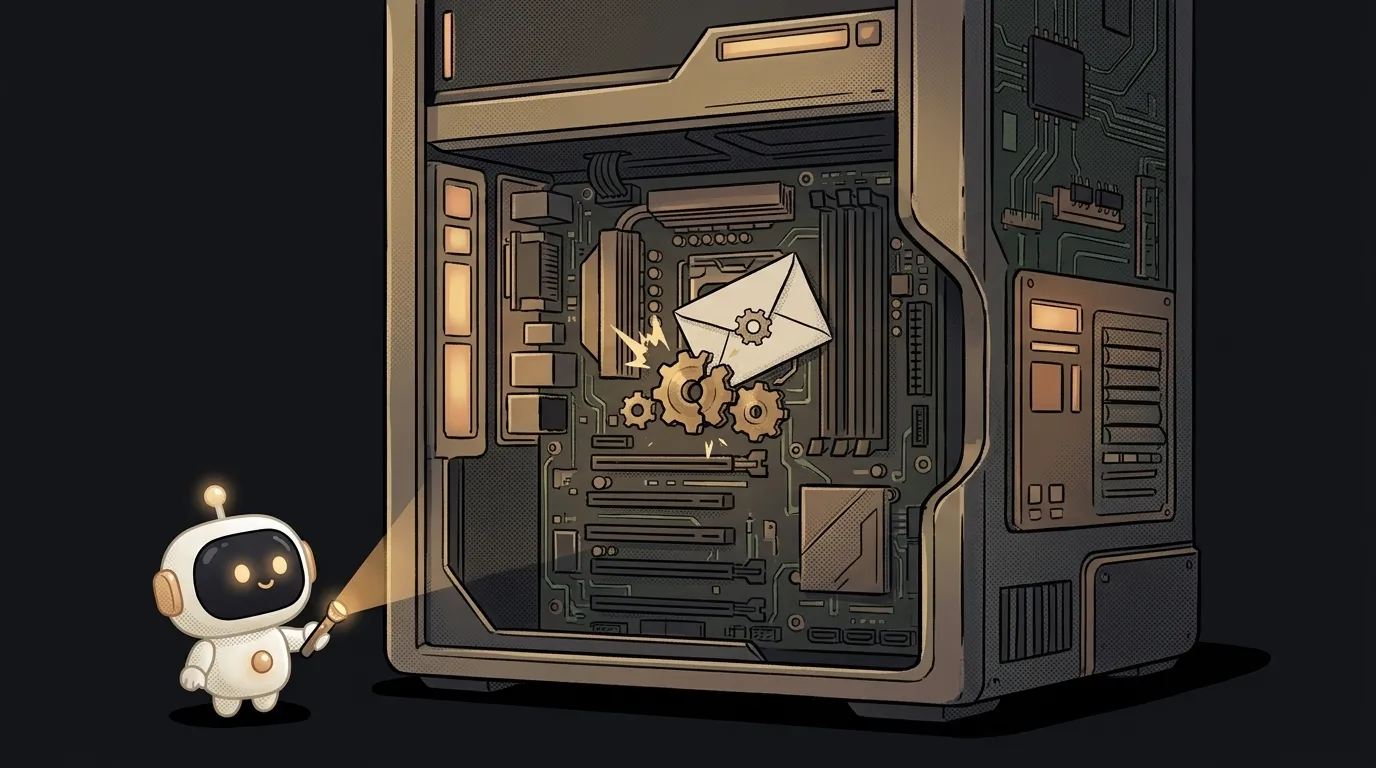
Step 4. Save often — especially before AI edits
The main beginner rule: commit often, and before every big change. A piece works — commit. About to ask the agent to "redo the whole screen" — commit first. Then, if the change broke everything, you return to a working save:
git checkout .
This command rolls unsaved changes back to the last commit — that "undo everything the agent did." For this one capability alone Git is worth learning.
Step 5. Push the code to GitHub
So far everything lives only on your machine. To get a cloud backup (and so a host can deploy from the repo), push the code to GitHub:
- Create an account on github.com and a new repository with the New button (empty, no files).
- GitHub shows the commands to link it — that's
git remote add origin <link>. - Push the code:
git push -u origin main.
After that, each new save flies to the cloud with a single git push after the commit. Don't remember the commands by heart — ask the editor: "commit with a clear message and push." It'll do it, and you'll understand what's happening.
What you'll get: a project with version history, a backup on GitHub, and an "undo" button that saves you every time a change goes wrong.
Are Git and GitHub the same thing?
No. Git is the time machine itself; it runs on your computer, no internet needed. GitHub is an online service where repos are stored in the cloud and can be shared. Git is the tool, GitHub is the place you send its code. You can use Git without GitHub at all.
What do I do if the AI agent broke everything?
If you committed a working version, run git checkout . and the unsaved changes roll back to the last save. That's why committing before big changes matters. No commit — nothing to roll back; that's the whole reason for "save often." Figuring out what exactly broke is easiest together with AI.
How many commands does a beginner really need?
To start, five are enough: init (once), add, commit, push, and checkout . for rollback. Branches, merges, and the rest come later, when you actually need them. You don't have to start with the whole arsenal — these five cover 90% of the work.
Short story-lessons, an agent simulator and daily practice — in our mobile app. Free.
Read next
What a 500 error means and how to fix it: 3 causes to start with
How to make a site mobile-friendly — step by step, starting with the one line everyone forgets

How to fix a CORS error — 3 causes and the fix for each

How to debug with AI — 5 steps so it actually helps instead of guessing

How to buy and connect a domain — step by step, and why it doesn't open right away