How to take your first payment — step by step, without becoming a bank or touching cards
The first-payment fear every beginner has: "I'll have to store card numbers, and that's scary and illegal." Breathe out. You're not allowed to, and don't need to, touch card data. The payment service does that — it has the licenses, the security, and all the boring liability. You just plug it in and catch the result. Let's go step by step, to a working button.
What you'll get
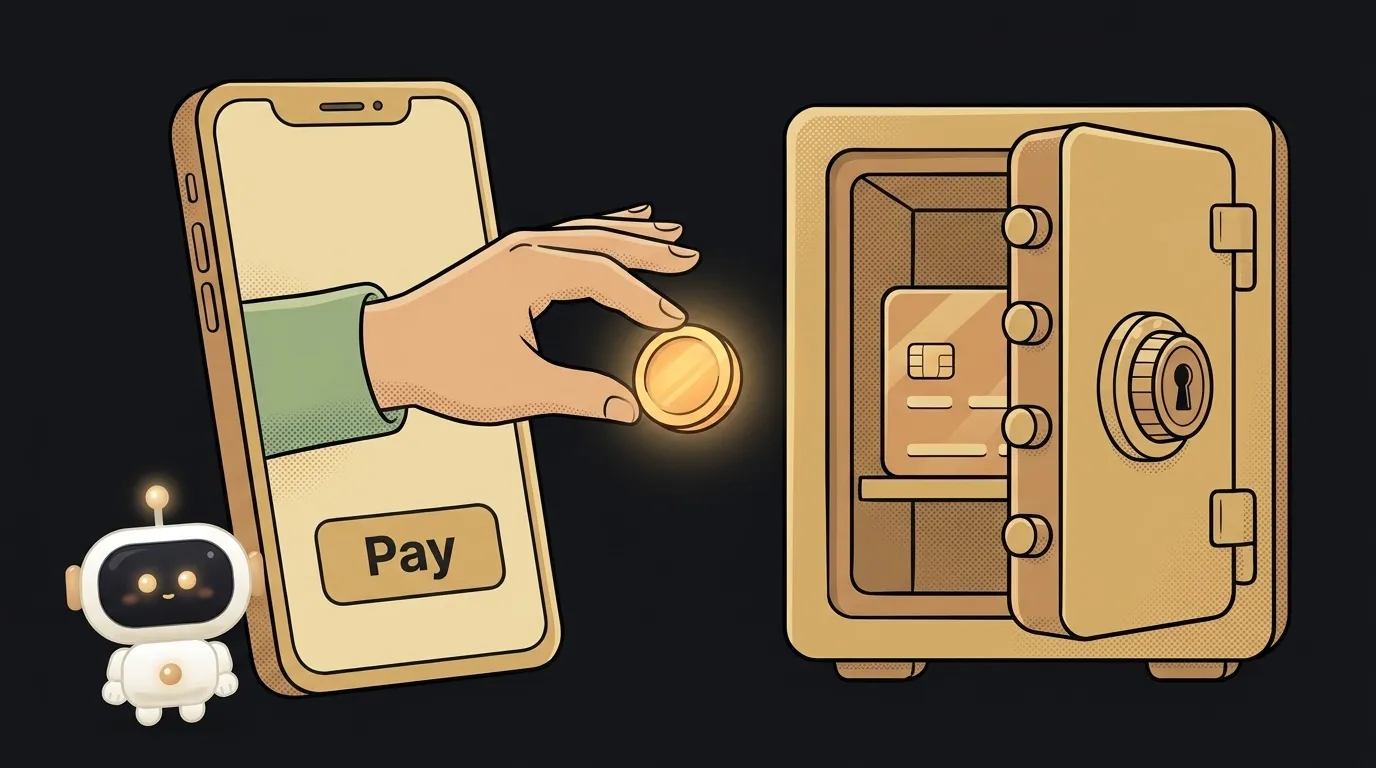
By the end: a "Pay" button that sends the user to the service's secure page, takes the money, and brings them back. The card is entered there — it never appears on your side, not for a second. Let's go.
1. Pick a payment service
Don't build money-taking yourself — use a ready one. Popular with vibe-coders:
- Stripe — the global standard, excellent docs (needs a non-RU bank account).
- Lemon Squeezy / Paddle — also handle sales tax for you when selling abroad.
- A local processor if you charge customers in your own country.
The logic is the same across all of them; I'll show Stripe below.
2. Make an account and switch on test mode
Sign up, then flip to Test mode straight away (a toggle in the dashboard). In test, everything works like production but no money moves — perfect for not being afraid to make a mistake.
In the developer section grab two keys: the publishable one (pk_test_...) and the secret one (sk_test_...).
3. Hide the keys in environment variables
The secret key is access to your money. Never paste it into your code and never commit it to git. Put both keys in environment variables — a separate .env file that stays out of the repo. More in the guide on storing keys safely.
4. Build a button that opens Checkout
Don't hand-build a card form. Ask the service for its ready payment page — with Stripe that's Checkout. Your button calls your own server, the server (with the secret key) creates a "checkout session" and returns a link, and you redirect the user there.
A prompt for your AI helper so you don't write it from scratch:
add payments to my app5. Catch the result via a webhook, not the front end
The most common beginner hole: "the user landed on the success page, so they paid." That's trivial to fake by editing the URL in the browser. The truth about a payment comes only from the service — via a webhook: Stripe itself pings your server with a "payment succeeded" event. Grant access or deliver the goods off that, not off what the browser showed.
6. Test with a test card
In test mode, enter card 4242 4242 4242 4242, any future date, any CVC. The payment goes through, the webhook fires. Confirm access was granted. Only then flip the account to live mode and swap the keys for live.
When you reach production, don't skip the price: think it through before launch instead of setting it at random.
Is it legal to take money like this?
Yes. The payment service is a licensed middleman, and it's the one that handles compliance (including PCI DSS for cards). You don't store cards, so most of the requirements aren't on you. Just check the service's terms for your country.
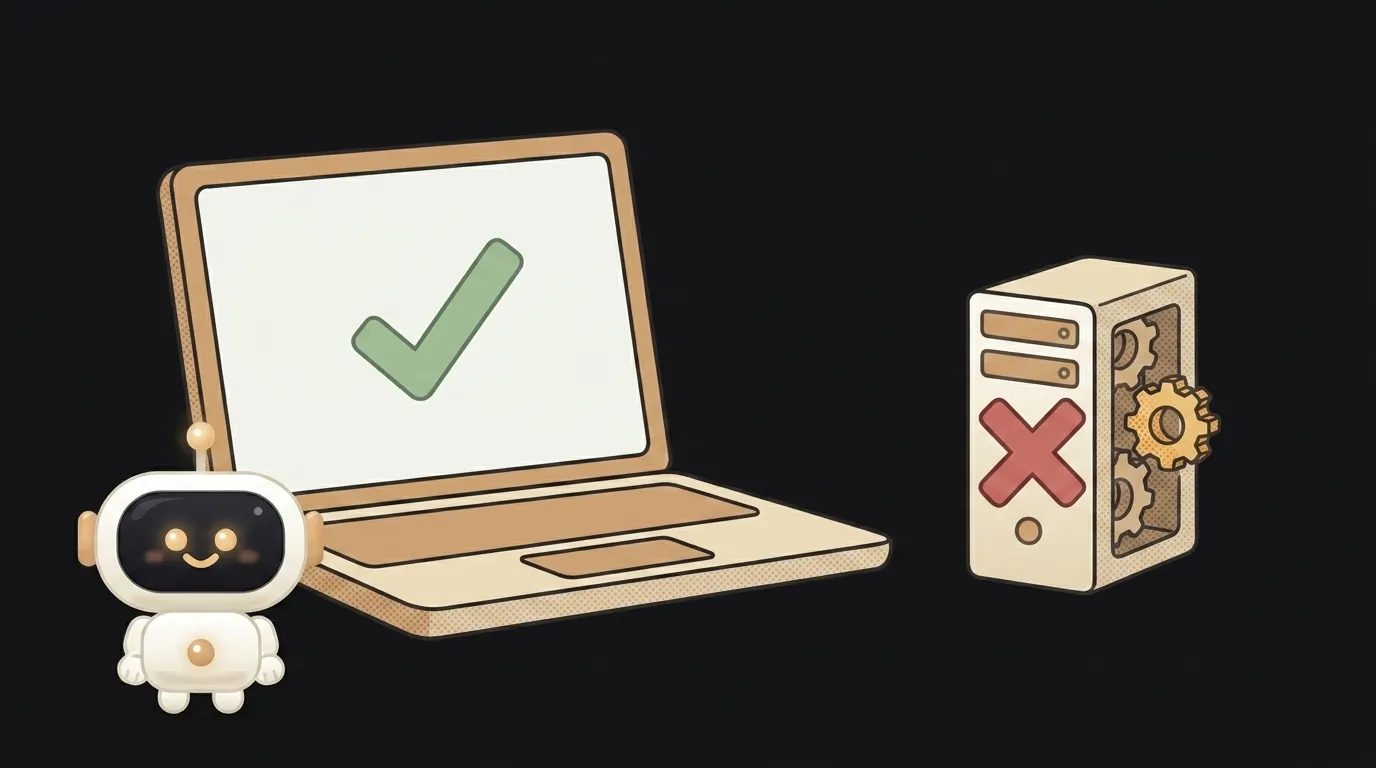
Do I need my own server for this?
Yes, a minimal one. The checkout session has to be created where the secret key lives — on the backend. If your app is purely front end, a small serverless function works: one short function in the cloud instead of a whole server.
Short story-lessons, an agent simulator and daily practice — in our mobile app. Free.
Read next
Why your deploy fails when it works locally — 3 causes to check first
Why AI-written code has bugs — 3 causes, and why it doesn't mean 'AI is dumb'

What a 500 error means and how to fix it: 3 causes to start with
How to use Git as a beginner — step by step, and why it's a time machine for code
How to make a site mobile-friendly — step by step, starting with the one line everyone forgets