Free AI tools: build your first project without paying a cent
A lot of people get stuck at the start over one thought: "I'll probably have to pay for this right away." It feels like there's a paywall at the door, so the first project gets pushed to "later."
Nope. You really can build your first project and show it to people without reaching for a card. Every tool you need has a free tier. Not a crippled demo — a working setup that's more than enough for a beginner. Let's lay out exactly what you need.
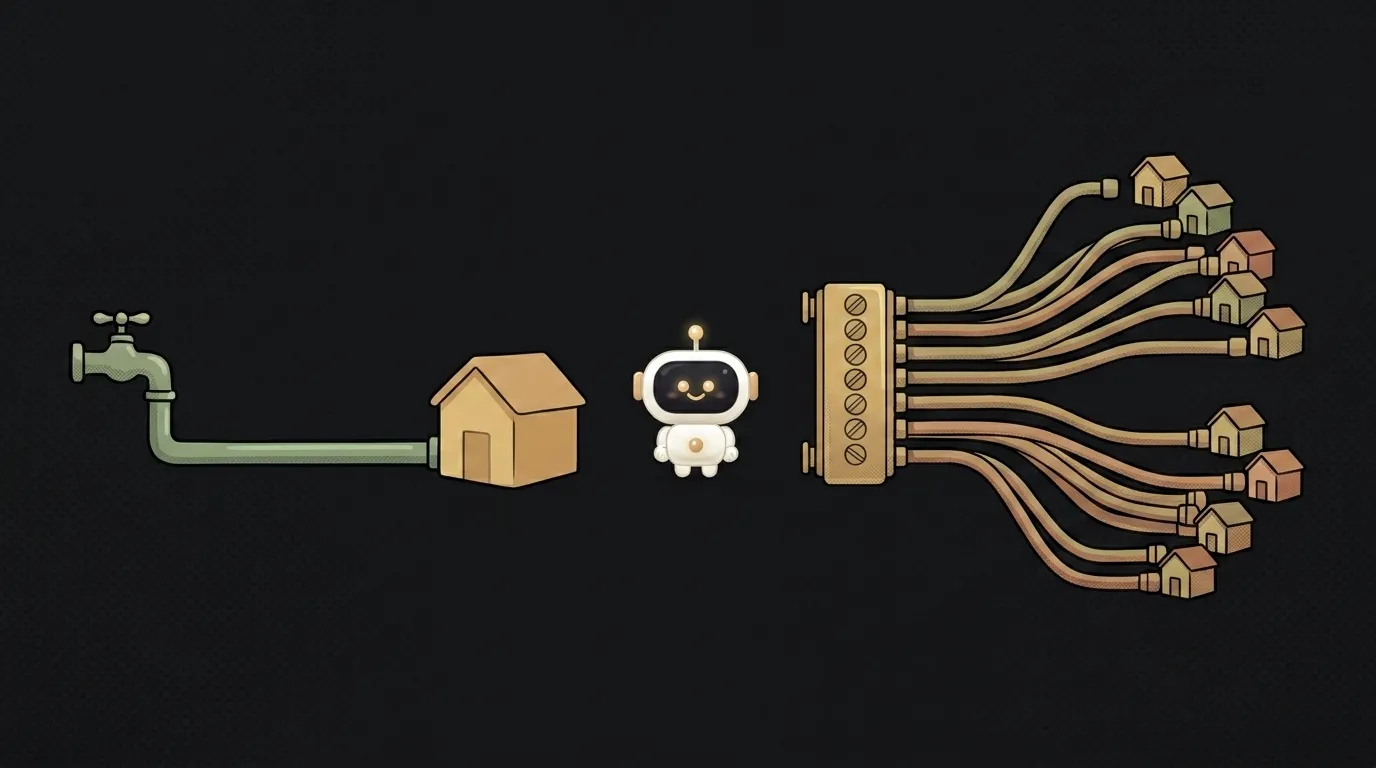
It all comes down to three questions: what to write with, where to run it, and where to put the finished thing. One tool for each — and you're in business.
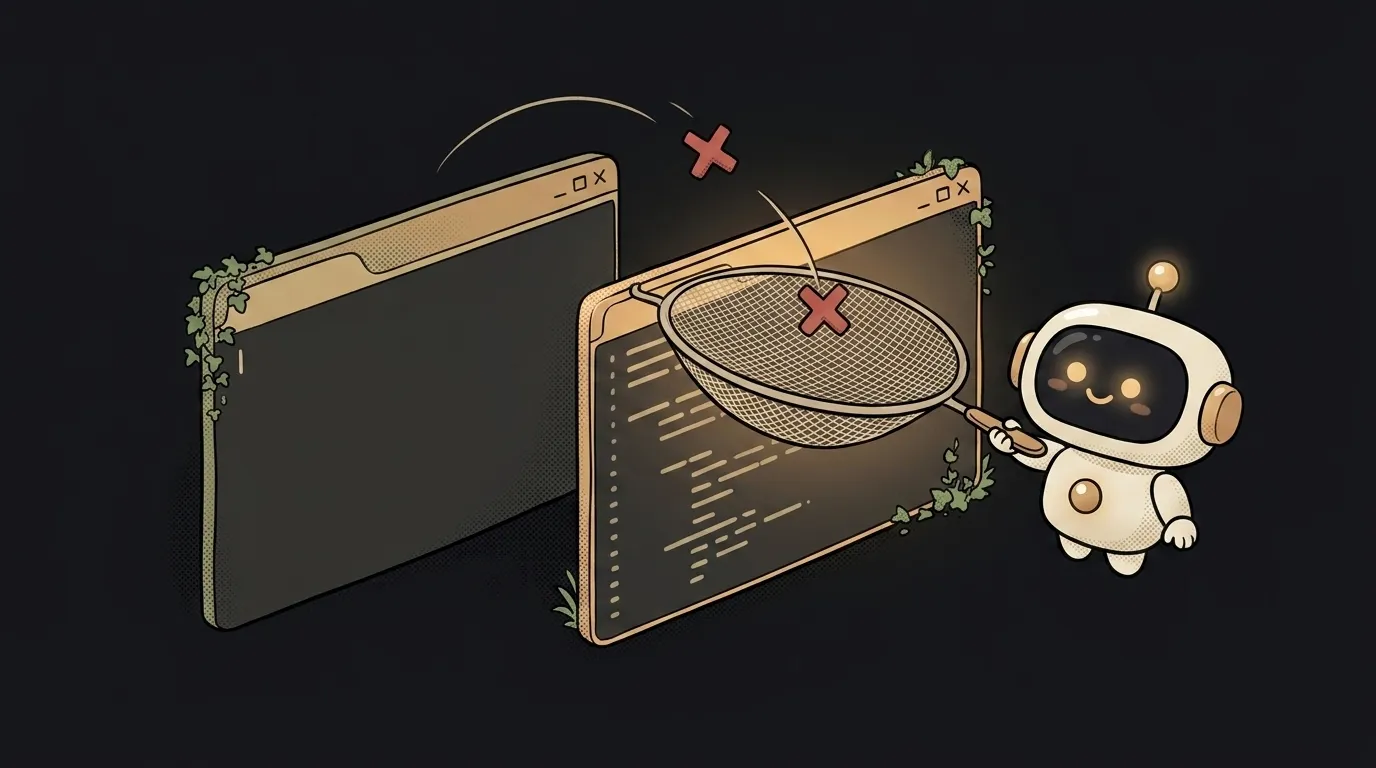
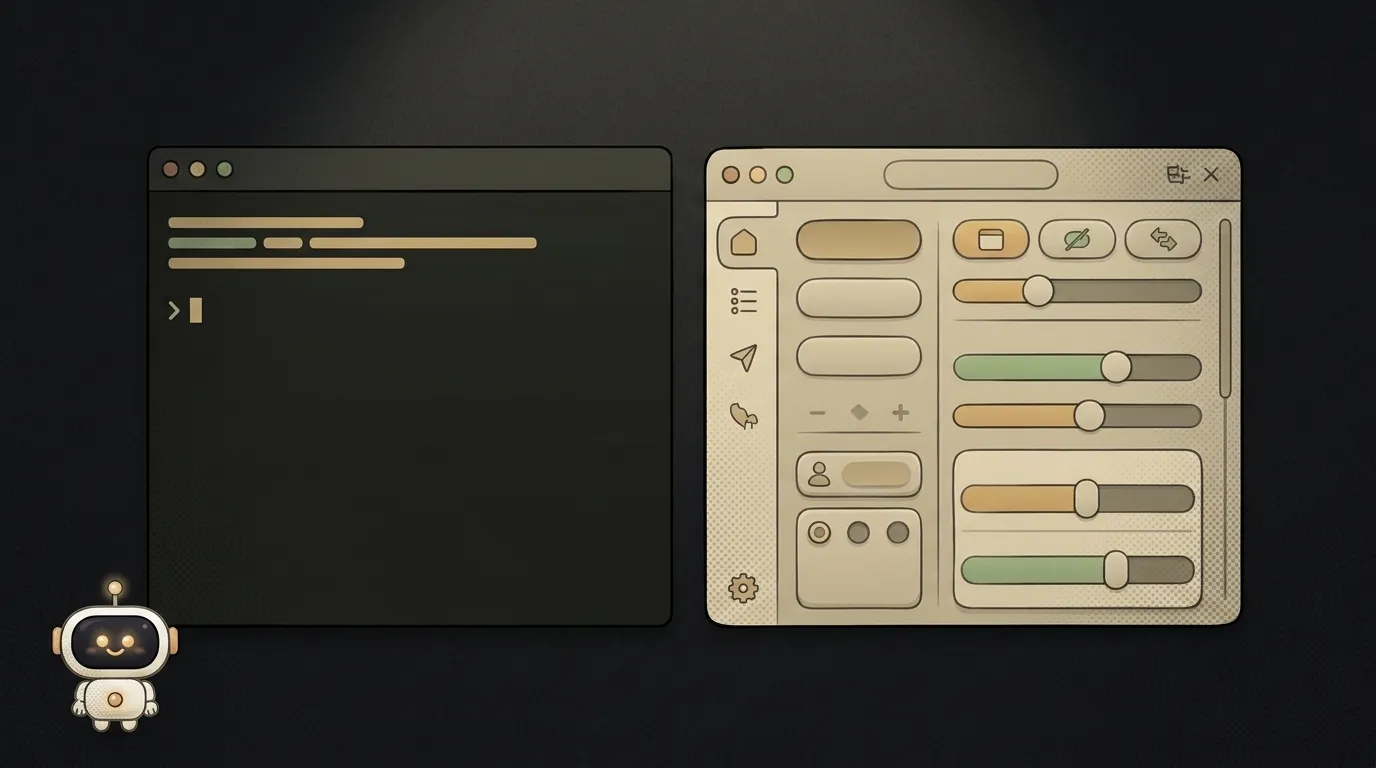
1. What to write with: an editor or an agent
This is your main tool — it's where the code is born. You need either an editor with AI hints, or an agent you give tasks to in plain words.
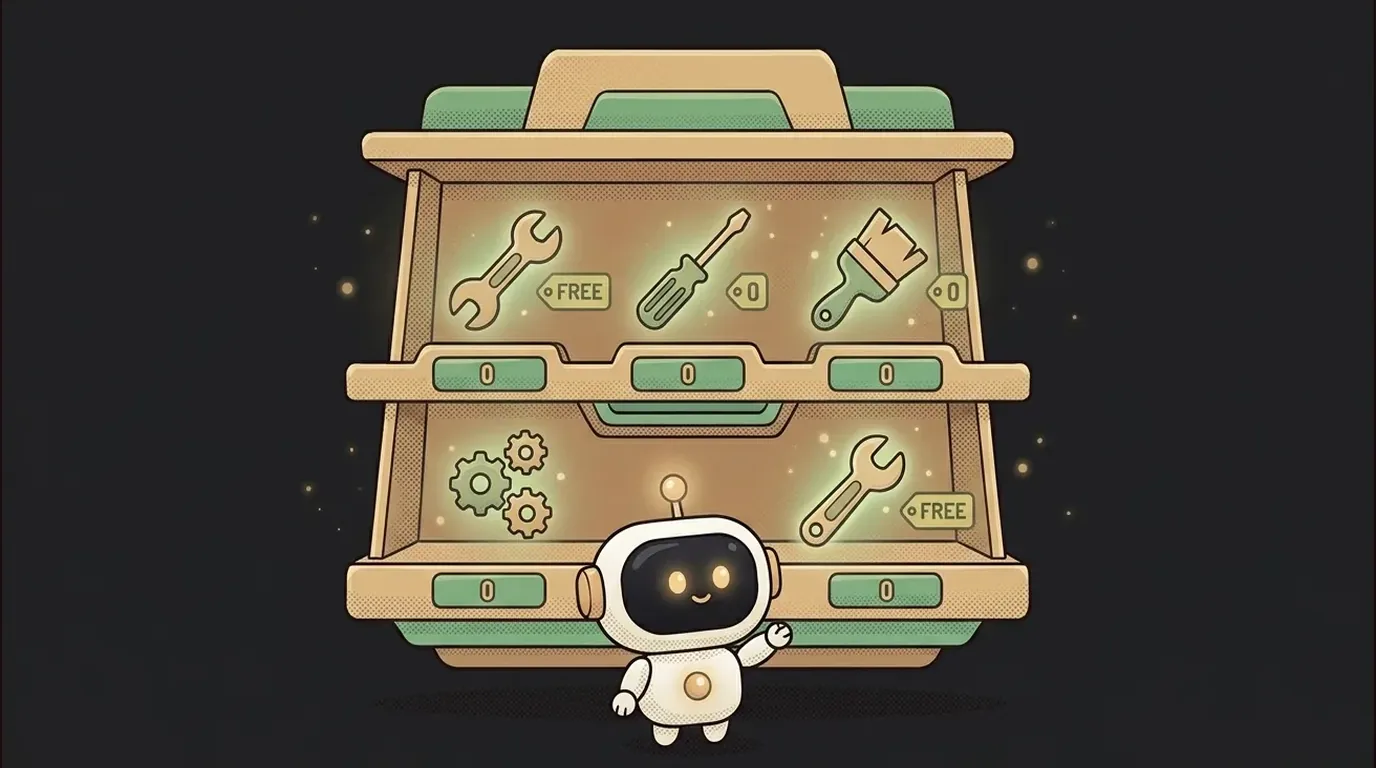
Good news: almost all of these have a free way in. They usually give you some number of AI requests — and for a learning project that's typically plenty. Some are more generous, some less, and it changes constantly, so check the tool's site for the exact numbers before you start.
A tip: don't open ten comparison tabs. Grab one — the one you hear about most — and start. You'll learn your style in practice, not in reviews.
A classic beginner snag here: the free requests run out halfway through the day. Easy fix — save them on the small stuff and spend them on what's actually got you stuck. By the next day the limit usually resets.
2. Where to run it: right in the browser
Running code used to mean setting everything up on your own computer. Today there are online sandboxes: open a site and you write, run, and see the result right in the browser window. Nothing to install.
This removes the most common beginner snag — "nothing runs on my machine." These sandboxes have a free tier, and for first projects it's usually more than enough.
A bonus: it all lives in the cloud. Sit down at a different computer, open the same site — and pick up right where you left off. Nothing to carry over by hand.
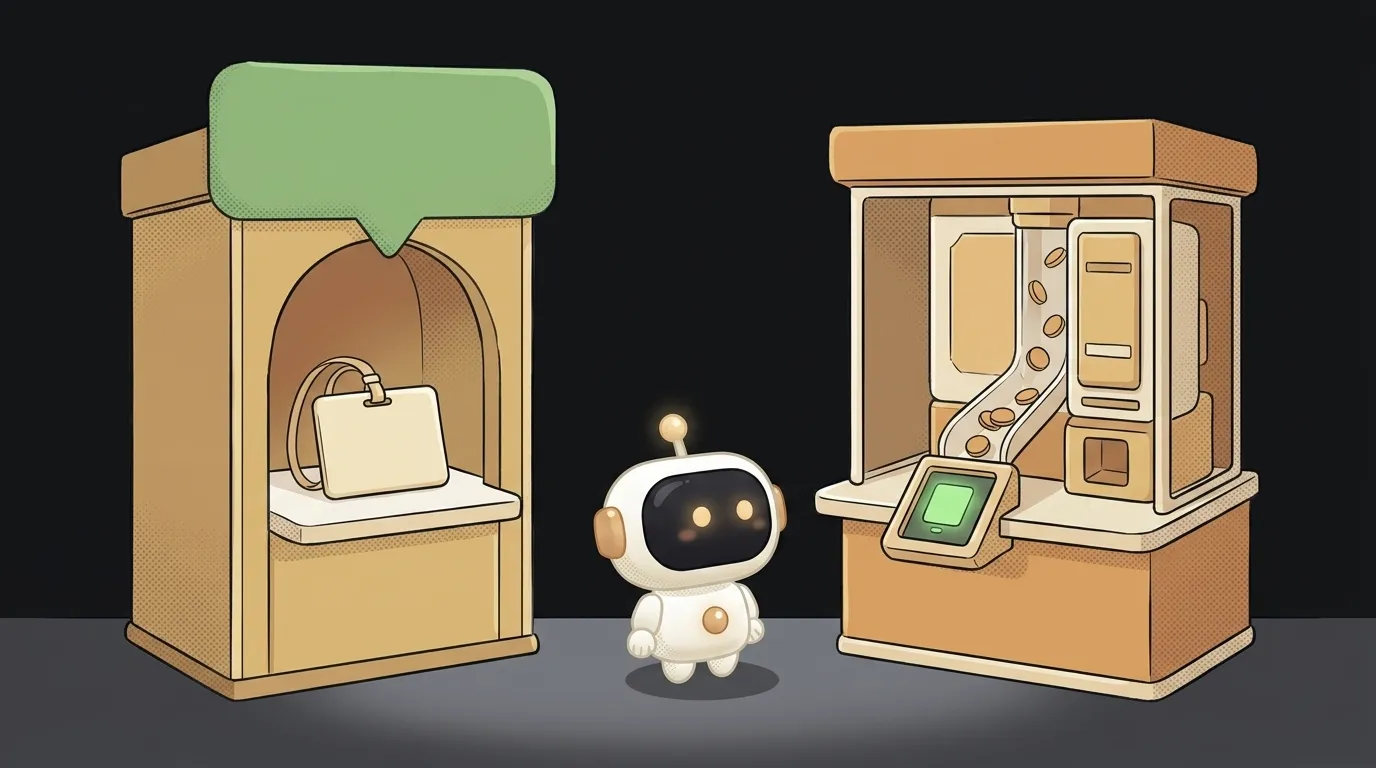
3. Where to put the finished thing: openable by a link
Once it's built, you'll want to show it. To your mum, a friend, on your résumé. For that the project needs to be "put online," so it opens via a normal link — not just on your screen.
The services for this also start with a free tier. For a learning site or a small app it's comfortably enough: your own link, up around the clock, no payment. When the project grows and the crowd shows up — that's when you think about a paid plan. But that's a nice problem for future you.
Chain it together and start
Look how cleanly it stacks up:
- Write — in a free editor or with an agent.
- Run — in an online sandbox, installing nothing.
- Show — by putting it up on a free link.
Three free steps and you've got a live project in your hands, openable from any phone. Zero spent.
So the "it's expensive to start" excuse no longer holds. Pick a simple idea, walk these three steps — and show someone your link today.
Short story-lessons, an agent simulator and daily practice — in our mobile app. Free.
Read next
ChatGPT subscription or the API — two different products, and here's which one you need
npm vs pnpm vs yarn — which package manager to pick as a beginner
OpenAI API vs OpenRouter — which one to plug into your project
Ollama vs LM Studio — which to pick for running AI locally
Gemini or Claude — which model to pick for code and beyond (2026)